

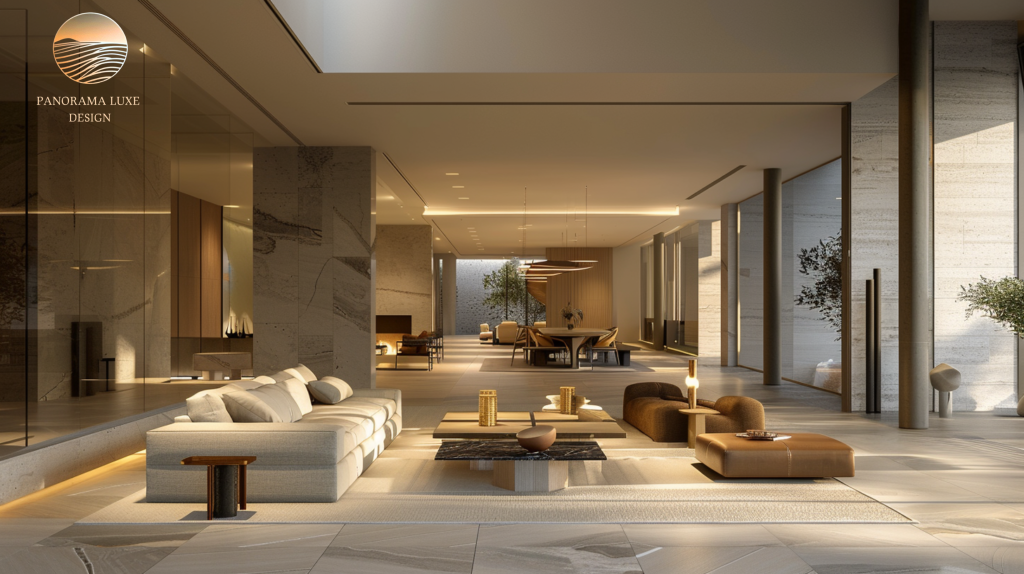
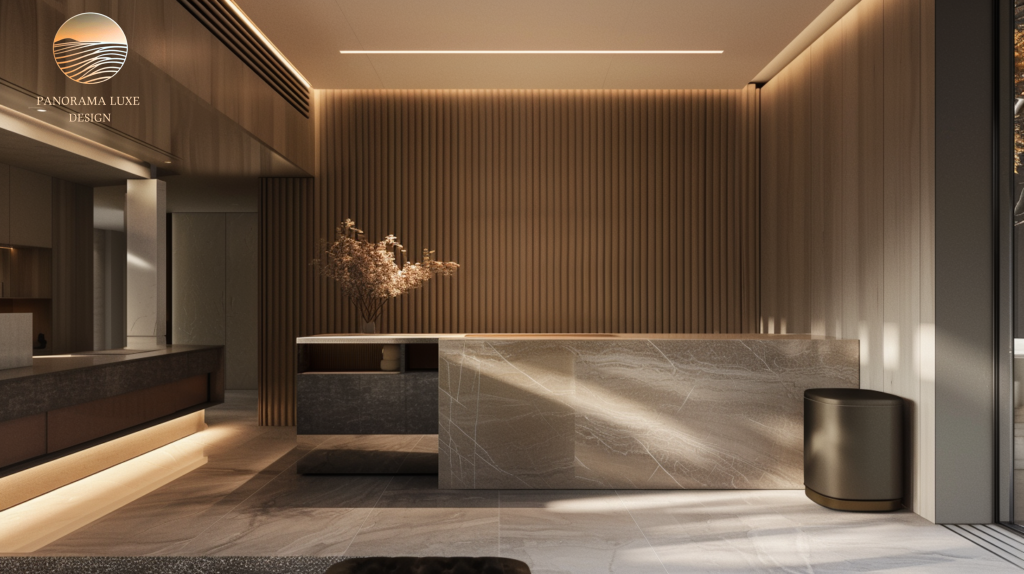
Modern luxury interior design isn’t about expensive finishes stacked on top of each other. It’s about clarity: a defined vision, a realistic budget, the right team, and an interior design process that protects quality while keeping decisions moving. Whether you’re a homeowner planning a primary residence, a developer delivering premium units, or a real estate professional upgrading a flagship listing, the planning phase is where projects succeed or quietly fail.
Below is a practical, step-by-step guide to luxury interior design planning, from concept to execution, covering vision, budgeting, working with professionals, material selection, a design project timeline, and the most common planning mistakes.
Step 1: Define the brief (before you look at inspiration)
Start with a tight project brief. If you skip this, the entire project becomes “taste-driven” instead of “outcome-driven,” and that’s how timelines and budgets blow up.
Your brief should answer:
- Who lives/uses the space? (daily routines, entertaining style, staff, kids, pets)
- What’s the goal? (personal residence, resale premium, rental yield, brand positioning)
- What luxury means to you: quiet comfort, museum-like minimalism, warm modern, or statement design
- Performance requirements: acoustics, privacy, durability, maintenance level, smart home needs
- Non-negotiables: layouts to keep, views to protect, furniture to reuse, cultural preferences (especially relevant in Gulf projects)
Deliverable: a 1–2 page written brief + a list of must-haves and must-not-haves.
Step 2: Build a clear vision (and stop the Pinterest spiral)
In luxury projects, “more inspiration” often creates confusion. You want a direction, not a moodboard that contradicts itself.
Use inspiration strategically:
- Choose one primary style direction (e.g., warm modern, contemporary minimal, modern classic)
- Choose three anchor references you want to emulate (not twenty)
- Define three adjectives that describe the intended feeling (e.g., calm, tailored, luminous)
Then translate that into design decisions:
- Preferred palette (warm neutrals vs cooler stones)
- Contrast level (low-contrast calm vs bold graphic)
- Material character (matte, tactile, natural vs glossy, sharp, reflective)
- Lighting mood (gallery-like, hospitality-inspired, or residential soft)
Pro tip: Luxury reads as “intentional.” The most expensive mistake is mixing signals.
Step 3: Set the budget the way luxury projects actually work:
Most people budget for “finishes and furniture” and forget the invisible cost drivers: custom work, logistics, lead times, and professional fees. Luxury renovation planning is less about a single number and more about allocating properly.
Budget categories to plan upfront
- Design fees (interior designer, architect, consultants)
- Construction & trades (demolition, MEP, plaster, joinery installation)
- FF&E (furniture, fixtures, and equipment)
- Materials & finishes (stone, wood, metal, wall finishes)
- Lighting (decorative + architectural + controls)
- Smart home / AV / security (often underestimated)
- Procurement, shipping, taxes/duties (especially cross-border)
- Contingency (non-negotiable)
A realistic contingency
- Renovation: plan 10–20% contingency (older properties lean higher)
- New build interiors: typically, 5–10%, but only if the base build is reliable
Rule: Don’t start design without a budget range. Don’t start construction without contingency.
Step 4: Assemble the right team (and define roles in writing)
Luxury outcomes require coordination. The biggest planning failures come from unclear responsibility, who approves what, who buys what, and who owns site decisions.
Typical team structure
- Interior designer: concept, planning, detailing, FF&E, procurement support
- Architect (if needed): structural changes, permits, code compliance
- Contractor / GC: scheduling, trades management, site execution
- Specialists: lighting designer, kitchen specialist, smart home/AV, façade, landscape
- Owner’s rep / project manager (common for developers): coordination, reporting, budget control
Critical: Put scope boundaries in writing:
- Who issues drawings?
- Who shops/procures?
- Who holds trade contracts?
- Who signs off on changes?
- What’s the process for substitutions?
If you want a controlled result, you need controlled responsibility.
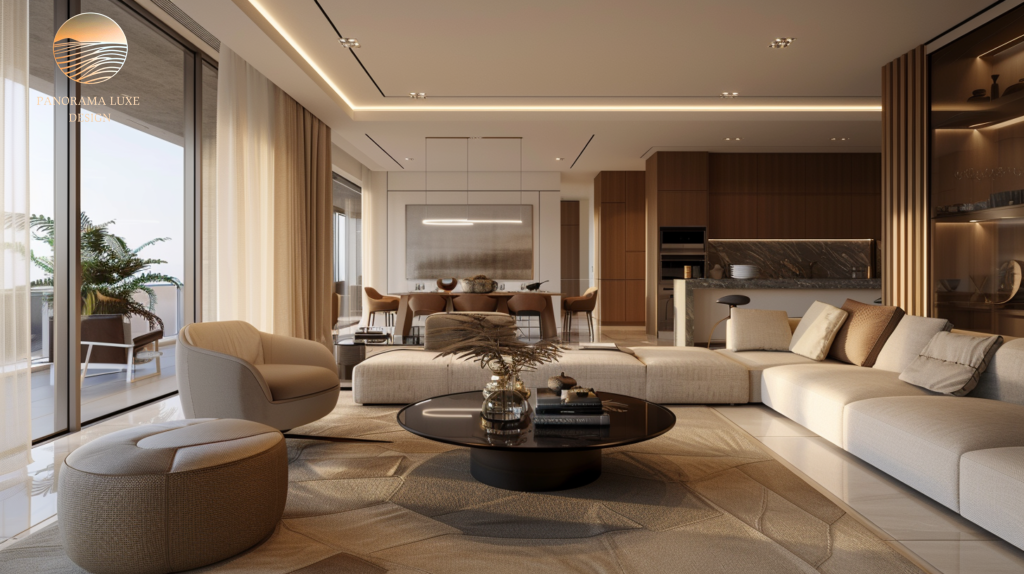
Step 5: Start with space planning (luxury lives in the layout)
Luxury is felt in circulation and proportion. Before finishes, lock the fundamentals:
- Entry sequence and sightlines
- Living + dining adjacencies
- Kitchen workflow and storage planning
- Bedroom privacy hierarchy
- Dressing + bathroom planning (lighting, ventilation, humidity considerations)
- Staff routes (where relevant)
- Furniture clearance and scale (design around real furniture footprints)
A great layout can carry modest finishes. A bad layout makes premium finishes look confused.
Deliverable: measured survey (or as-built drawings) + proposed plans + key elevations.
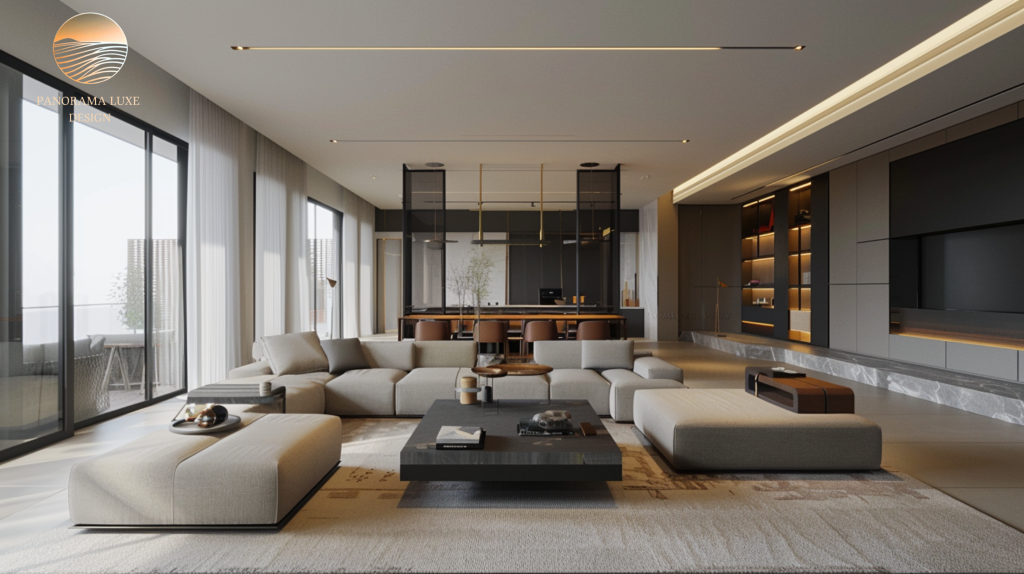
Step 6: Decide early on custom vs curated (this controls cost and timeline)
Modern luxury interiors typically blend:
- Custom: joinery, doors, wall panels, kitchens, vanities, built-ins
- Curated: signature furniture, lighting, rugs, art
- Planning rule:
- If it affects construction, decide early (built-ins, lighting locations, stone details).
- If it’s movable, you can decide later, but don’t leave everything to the end.
Custom work is where luxury becomes unmistakable, but it’s also where delays happen if decisions arrive late.
Step 7: Lock materials with a system, not with feelings
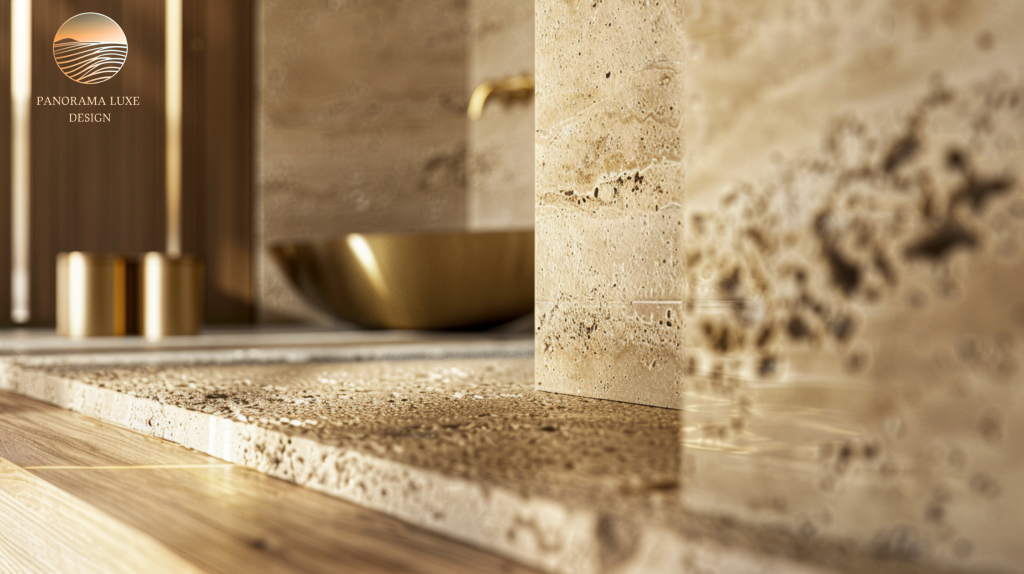
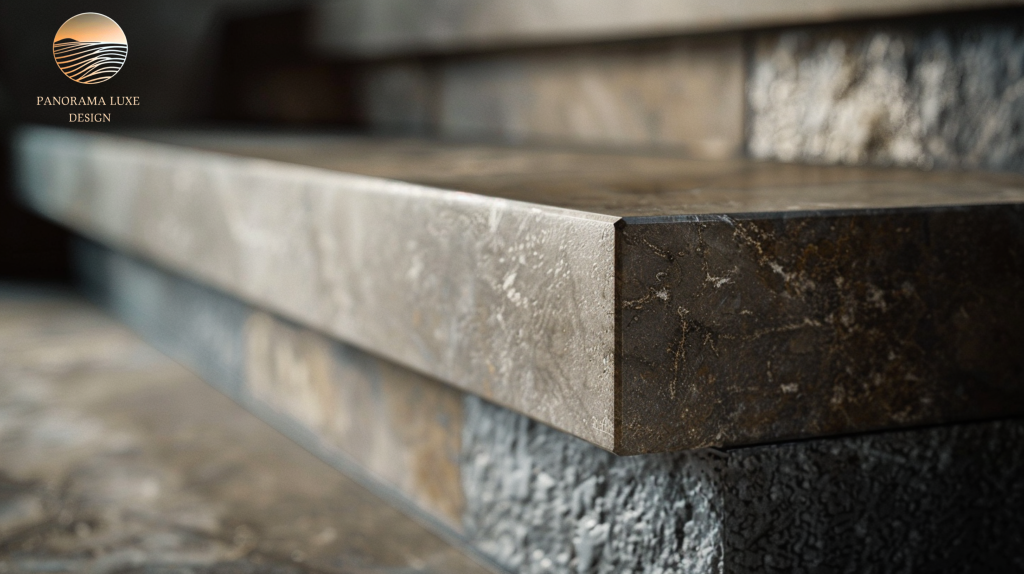
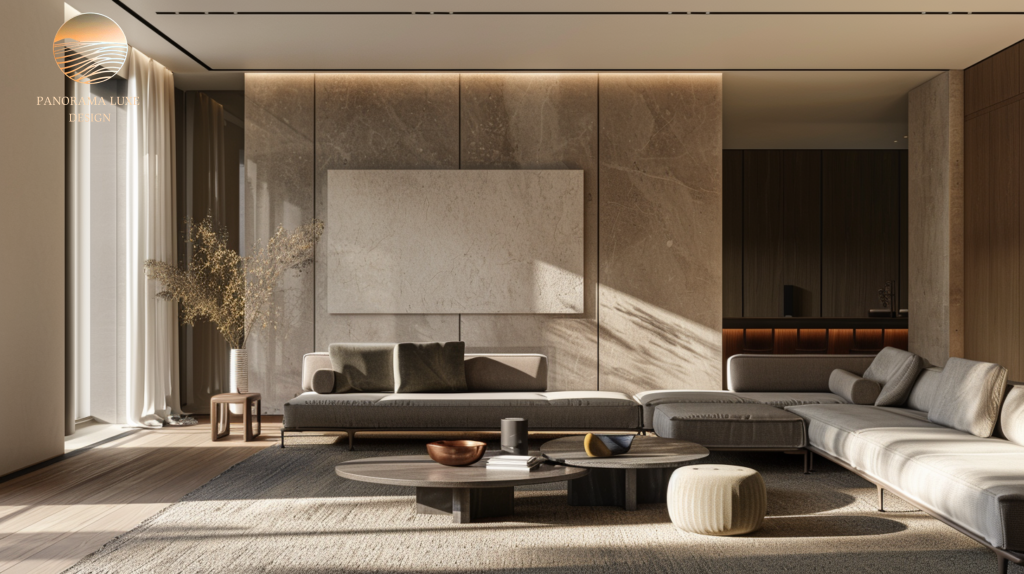
Material selection is where “luxury” either becomes cohesive or becomes a showroom of unrelated expensive things.
Create a structured palette:
- Primary materials (3–5): e.g., oak, limestone, brushed metal, plaster, leather
- Secondary materials (3–5): e.g., textured fabric, accent stone, tinted glass
- Accent moments: one or two “hero” features (statement stone wall, sculptural stair, custom chandelier)
- What you must evaluate (beyond beauty)
- Durability: scratch resistance, staining, UV stability
- Maintenance: sealing requirements, cleaning sensitivity
- Availability: lead times, slab yield, batch consistency
- Mockups: plaster samples, stain samples, metal finish samples under real lighting
Luxury tip: Control sheen. Mixing random gloss levels is one of the fastest ways to make a space feel “high budget, low discipline.”
Step 8: Build a real design project timeline (not a wish list)
A professional design project timeline includes design time, approvals, procurement lead times, fabrication, and installation sequencing. Luxury projects often take longer because the product and craftsmanship take longer.
Typical timeline ranges (very general)
- Concept + schematic design: 4–8 weeks
- Design development (materials, key details): 6–10 weeks
- Construction drawings + tendering: 6–12 weeks
- Procurement + fabrication (FF&E/joinery/lighting): 10–24+ weeks
- Construction (renovation): 4–9+ months depending on scope
- Installation + styling: 2–6 weeks
- What extends timelines most:
- Custom joinery and specialty finishes
- Imported lighting and stone
- Permit and inspection cycles
- Late approvals (client-side delays are real delays)
Planning move: Put long-lead items on the timeline immediately: lighting, stone, kitchens, hardware, bespoke furniture, automation equipment.
Step 9: Protect the design during construction (this is where projects drift)
Execution is where luxury is either preserved, or compromised by “field decisions.” Create a control system:
- Weekly site meetings with action log
- Formal submittals and finish approvals
- A clear RFI (request for information) process
- Change order rules (cost + time impact approved before work proceeds)
- Quality checklists for critical items (stone alignment, joinery gaps, paint finish, lighting scenes)
If the contractor is guessing, the outcome will look guessed.
Step 10: Plan final styling like it’s part of construction (because it is)
High-end results don’t come from finishing construction and “adding décor later.” Styling is a design phase with procurement and lead times.
Include:
- Window treatments (often long lead)
- Rugs sized to furniture layouts
- Art planning (especially lighting for art)
- Accessories that match the material language
- Exterior/interior transitions (terraces, balconies, views)
Luxury read: the room should look complete on day one, not like a beautiful shell waiting for personality.
Common Planning Mistakes in Luxury Interior Design
- Starting demolition before final drawings:
Fast starts create slow finishes. Unknowns multiply.
- Under-budgeting lighting and smart home: Luxury is heavily dependent on lighting quality and control.
- Choosing finishes before layout is solved: You can’t “material” your way out of a bad plan.
- No procurement strategy: If you don’t know who buys what and when, you will miss lead times.
- Over-customizing without craftsmanship control: Bespoke only works when detailing, fabrication, and installation standards are strict.
- Too many decision-makers: Committees destroy consistency. Assign one final decision owner.
- Ignoring maintenance reality: Some stones, metals, and high-gloss finishes look stunning and live terribly.
A simple planning checklist to keep things moving
- Written brief approved
- Budget range + contingency set
- Team roles and scope confirmed in writing
- Measured survey completed
- Space plan approved
- Materials palette structured + sampled
- Long-lead items identified and ordered
- Timeline includes procurement and fabrication
- Site decision process established
- Installation + styling plan included
Modern luxury interior design planning is not mysterious, it’s disciplined. When you define the brief, align the vision, budget intelligently, and control decisions through a proper interior design process, you get the thing everyone wants: a calm project and a finished space that feels effortless.
If you want, I can also provide a matching one-page “Luxury Project Planning Brief” template you can publish as a downloadable lead magnet for homeowners and developers.

